Showing posts with label group projects. Show all posts

Tuesday, April 3, 2012

Tutorial how to... Tie Dye Easter Eggs

This week with the Lovelies was time in the city of Grand Haven, at the lovely home of Ms. Laurie. Easter was her theme of the day. Our projects were to make tie dye easter eggs and nests to put our eggs in. So much fun and a great idea we could take home and do with our families. Thank you Laurie for a great lunch and a super fun project. 
This tutorial is very easy and I think you'll love the outcome as much as we did. You can do it, I thought it was Easy Peasy.

Things you will need:
Fresh Eggs
Old Silk ties (GoodWill or Salvation Army)
Scissors
Cotton Muslin (cut in 6x6" squares)
Pipe Cleaners
White Vinegar
Boiling water in large Stock Pot


Cut out the inside lining of each tie your going to be using, and then place right side toward egg and wrap the egg.


Be careful they are raw.

Wrap the silk covered egg with a piece of muslin. (that should have been cut into 6 x 6" squares)


Wrap just the outside the egg with a pipe cleaner that is cut in half.


Do this with each egg.

Add the eggs carefully to a boiling pot of water and then add a pint of white vinegar and boil for 30 minutes.

Any kind of white distilled vinegar will work.


You can also cover blown out eggs as well, you just have to be really careful with them. They also like to float to the top of the pot.


The fun begins when you unwrap the eggs. The color is bright and vibrant. Try to find silk ties that are not faded and have alot of geometric shapes they work the best. Do not use Cotton Ties.


We used a variety of colored ties, that kept them fun and whimsy. We then put them back in their original containers and then into the fridge for now, they will come out Easter Day.


So fun and easy peasy, you can do it!


We placed them into a moss covered nest that we made as well.


They also look good in a traditional wicker basket too.
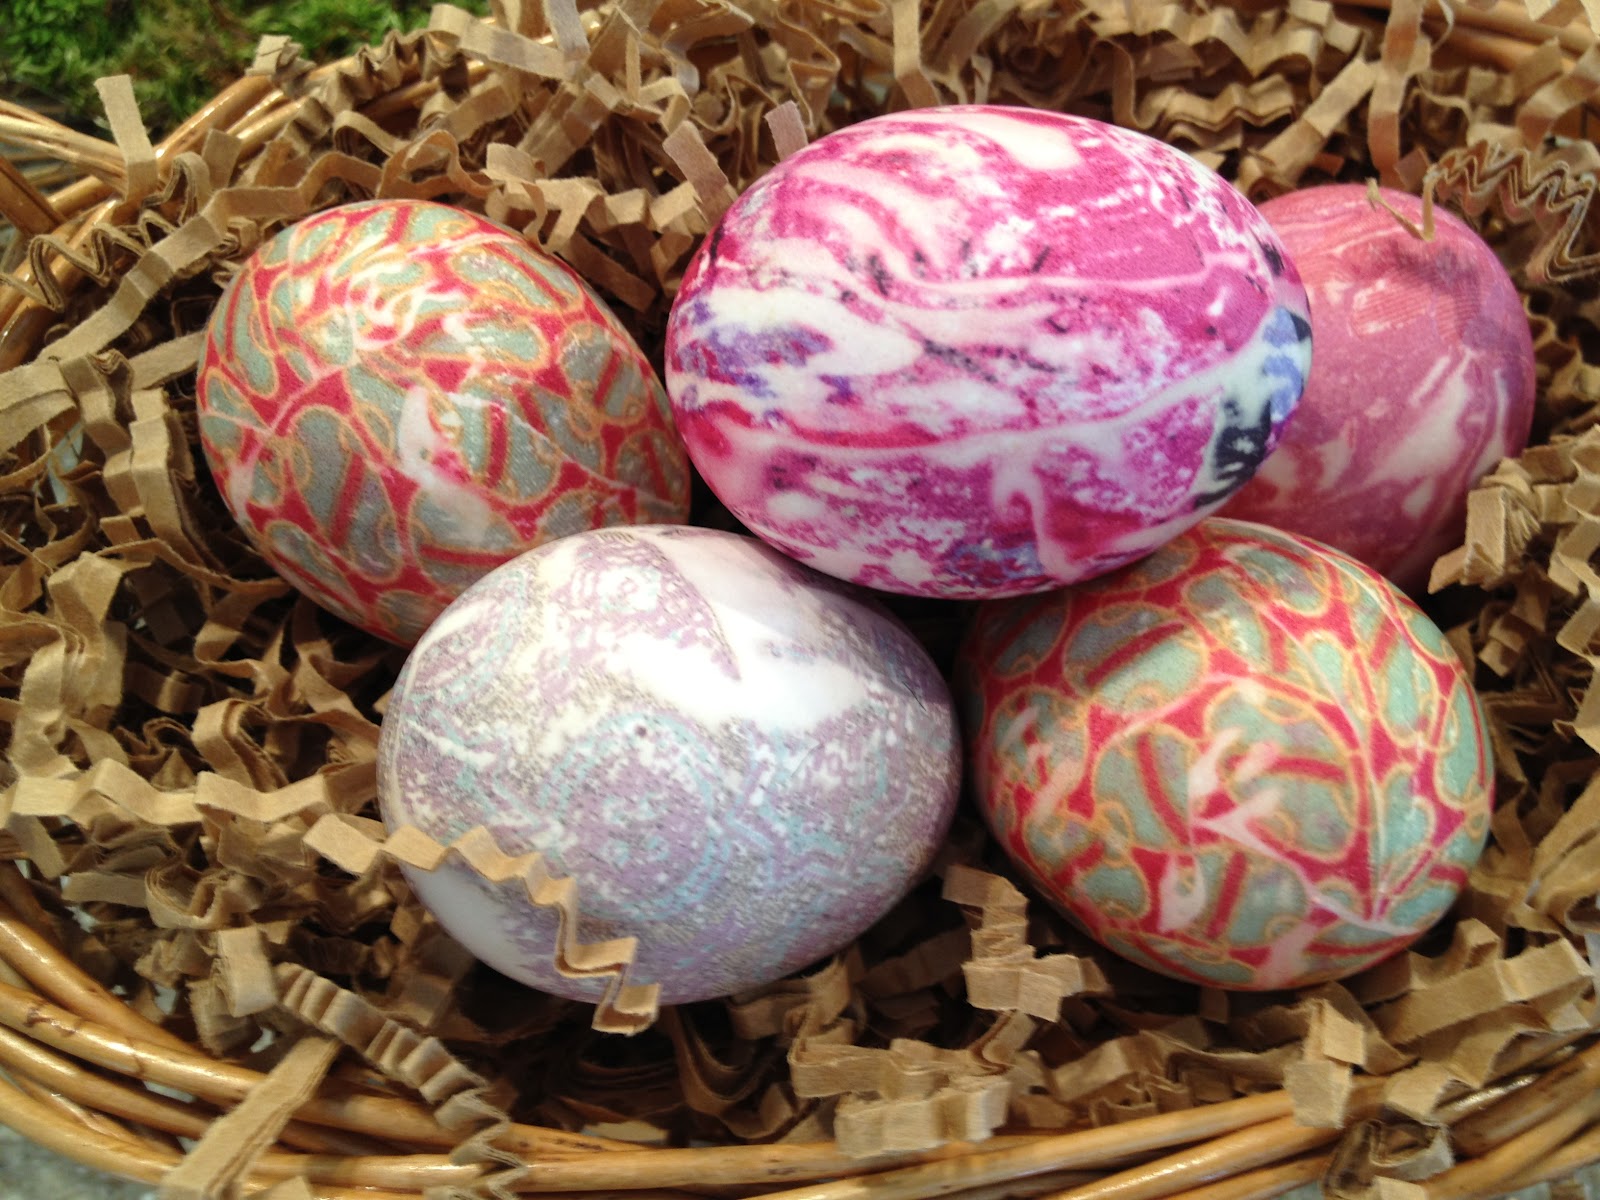

Look how pretty.

Can't wait to do this with the kids. The surprise inside is as much fun as wrapping them. They're gonna love this project.

Saturday, February 4, 2012

Bling It On

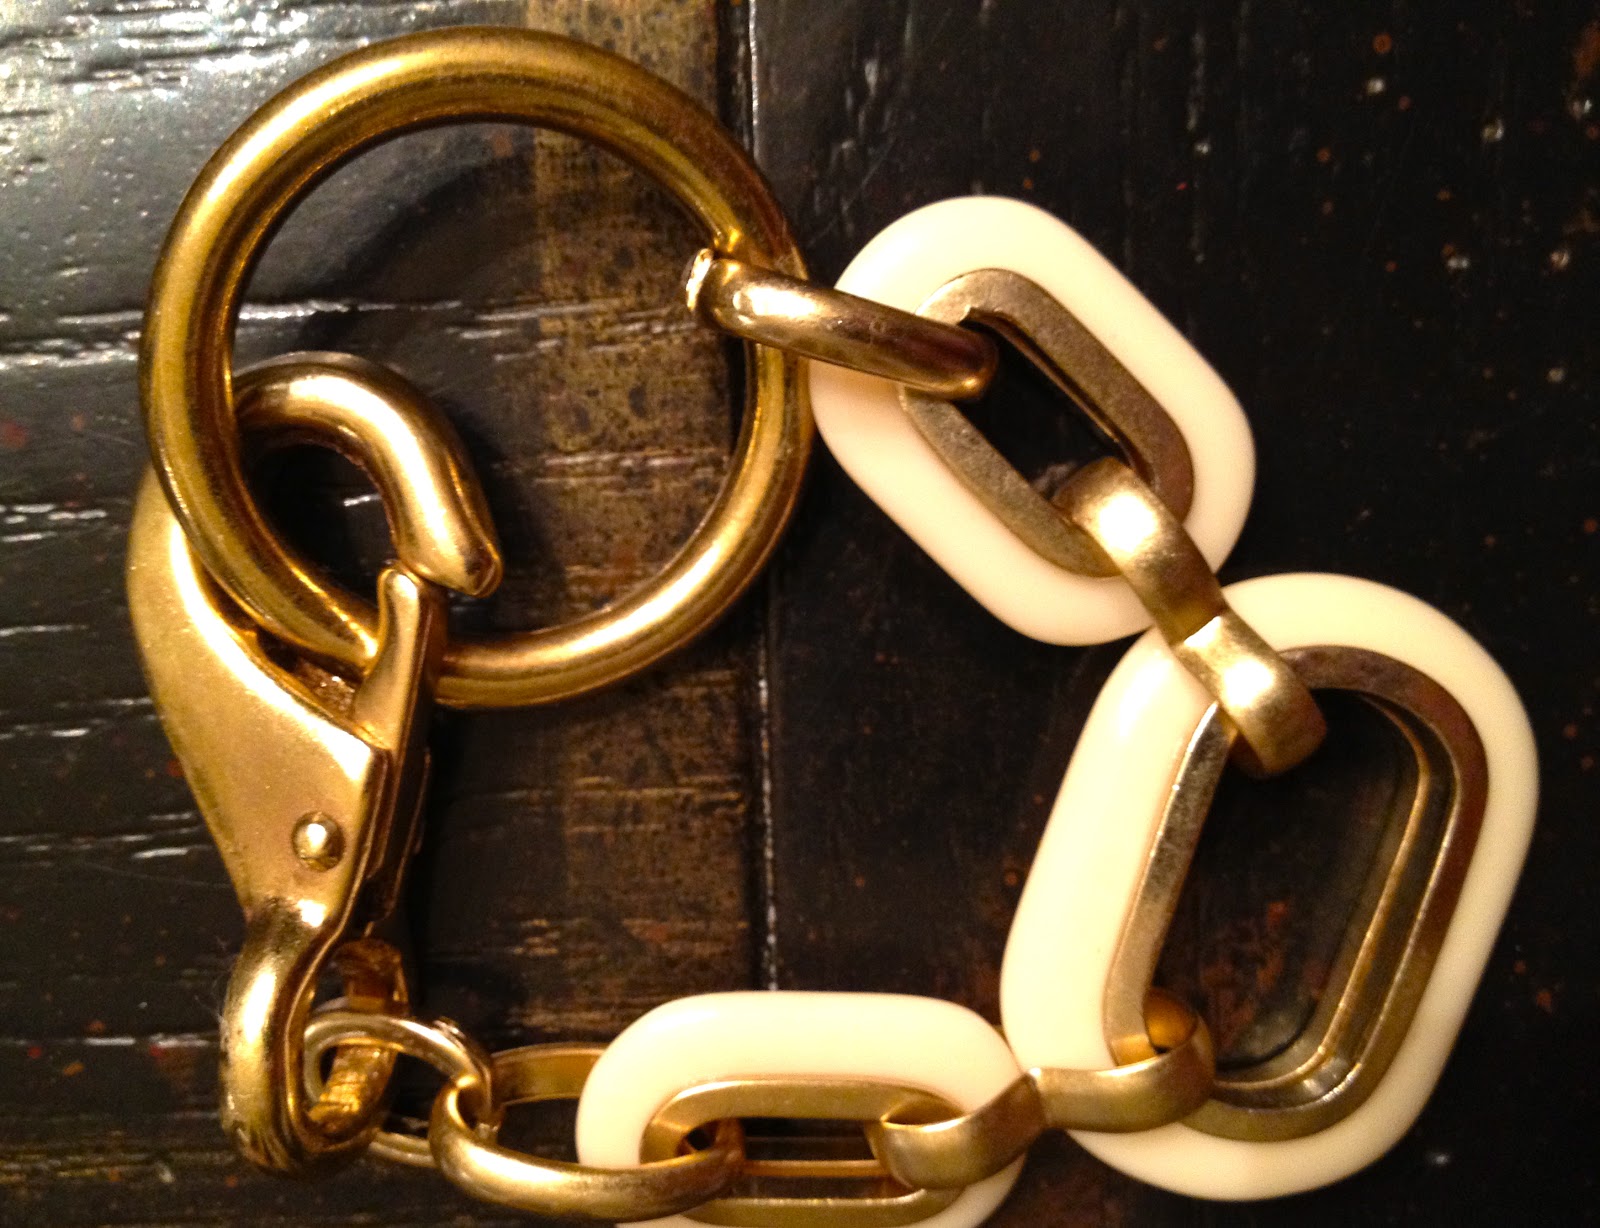
Bling It On Baby was the theme of our last project! We met at Sheryls lovely home and had a light lunch followed by a dazzling display of stones, chains, tools and crystals of many colors. Our objective was to create a necklace or a bracelet with our heavy duty chains and components from the hardware store. We had our inspiration in front of us (a cool bracelet), by the one and only Marlaina Stone. She and her team are based out of the detroit area and are known for their unique oversized radical designs. With that being said, we were so excited to go out on a limb to see what we could create. We had so much fun, I think we stayed until 5 or 6:00 p.m.
Thank you Sheryl for our fun filled afternoon and creative inspiration!

Kimmies oh so pretty design was made with some old necklaces she wanted to recycle. She ended up with a new updated piece she will now wear. I can just see this design with a crisp clean white t-shirt,  a pair of jeans and some awesome heels.
 Betsys deisgn is so pretty with the oversized blue crystals, and genuine freshwater pearls. This color combination can be worn with just about anything. Way to go Bets, we love it!
Sarah is blinging it home with these pretty bronze oversized crystals, clear crystals, pearls, silver chains and oversized lobster clasp. Love the colors!
 Speedy Sarah made a couple of bracelets. Here she used gold tones with browns, bronze and blacks as her color scheme. Oh so pretty, may I have one?
 I (Tina) made a summer themed bracelet consisting of brightly colored agate, pink jade, pink crystals, silver chains and a large white genuine pearl for added interest. Can't wait to wear mine.
Here I took and old necklace Kimmie gave me and tore it apart, added oversize clasps and voila. I absolutely love the simplicity. Kind of feels like a summer piece or a boaters bracelet. Should I add more? I think I will sit and ponder awhile on that one.  I think having your inspiration in front of you works, but it's always fun to make the project yours, by adding stuff or taking away from the design or putting a twist on it "to make it your own". Stay with us to see what's next for the Lovelies, we are always up to something good. 

Thursday, October 20, 2011

Glass Fusion Workshop

 So for this meeting our lovely Laurie had set up a workshop for glass fusion. It was a huge hit, we all loved it. Pictured here you will find Christys glass dish, made with a deep dark red with a black edge. Oh so elegant and chic!
 Sarahs design was more complicated and reminded me of a tetris game. She worked oh so carefully and it showed! Simply Lovely!
 Here you'll find Jennys fun and whimsical design. She went outside of the box and used frit (a form of tiny bits and pieces of glass) along with many layers of glass. So creative and lovely!
 Pictured here you'll find Lauries meticulous dish which is so wonderful. My eye is drawn automatically to the diagonal strip on the left. Our lovely ladies have so much talent and design concept.
 Here you have Tinas design which is reminiscent of a landscape. She is a painter so she thinks of her canvas when working with her glass. Simple and sweet!


A few more completed items from the workshop. The words, letters and pendants proved to be colorful and whimsical, oh so lovely!
This project proved to be successful because the 8 lovelies had never tried glass work before, and we went for it! There is something very contemporary and seductive about glass which makes it so appealing. If you ever get a chance or have a studio in your area, sign up for a workshop. I promise you'll love it.  I forgot to mention that this project was also inspired by a deal on Living Social. So remember that it doesn't matter what the project is, just do it. You can live creatively if you try! Our workshop location was the Mud Room in Ada, MI.